Zektor HDMI5 Specifiche Pagina 16
- Pagina / 25
- Indice
- SEGNALIBRI
- Home Theater Solutions 1
- What’s Inside 2
- An Overview of the HDMI5 3
- Easy, Simple, Instructions! 4
- Instructions (Cont'd) 5
- Using a Different Remote 6
- More Remote Options 7
- Pick a remote 8
- Step 1: Enter the Setup Mode 9
- Control Functions 12
- Changing Switching Delays 13
- Input Cable Length Tuning 14
- Bandwidth & Sync Settings 15
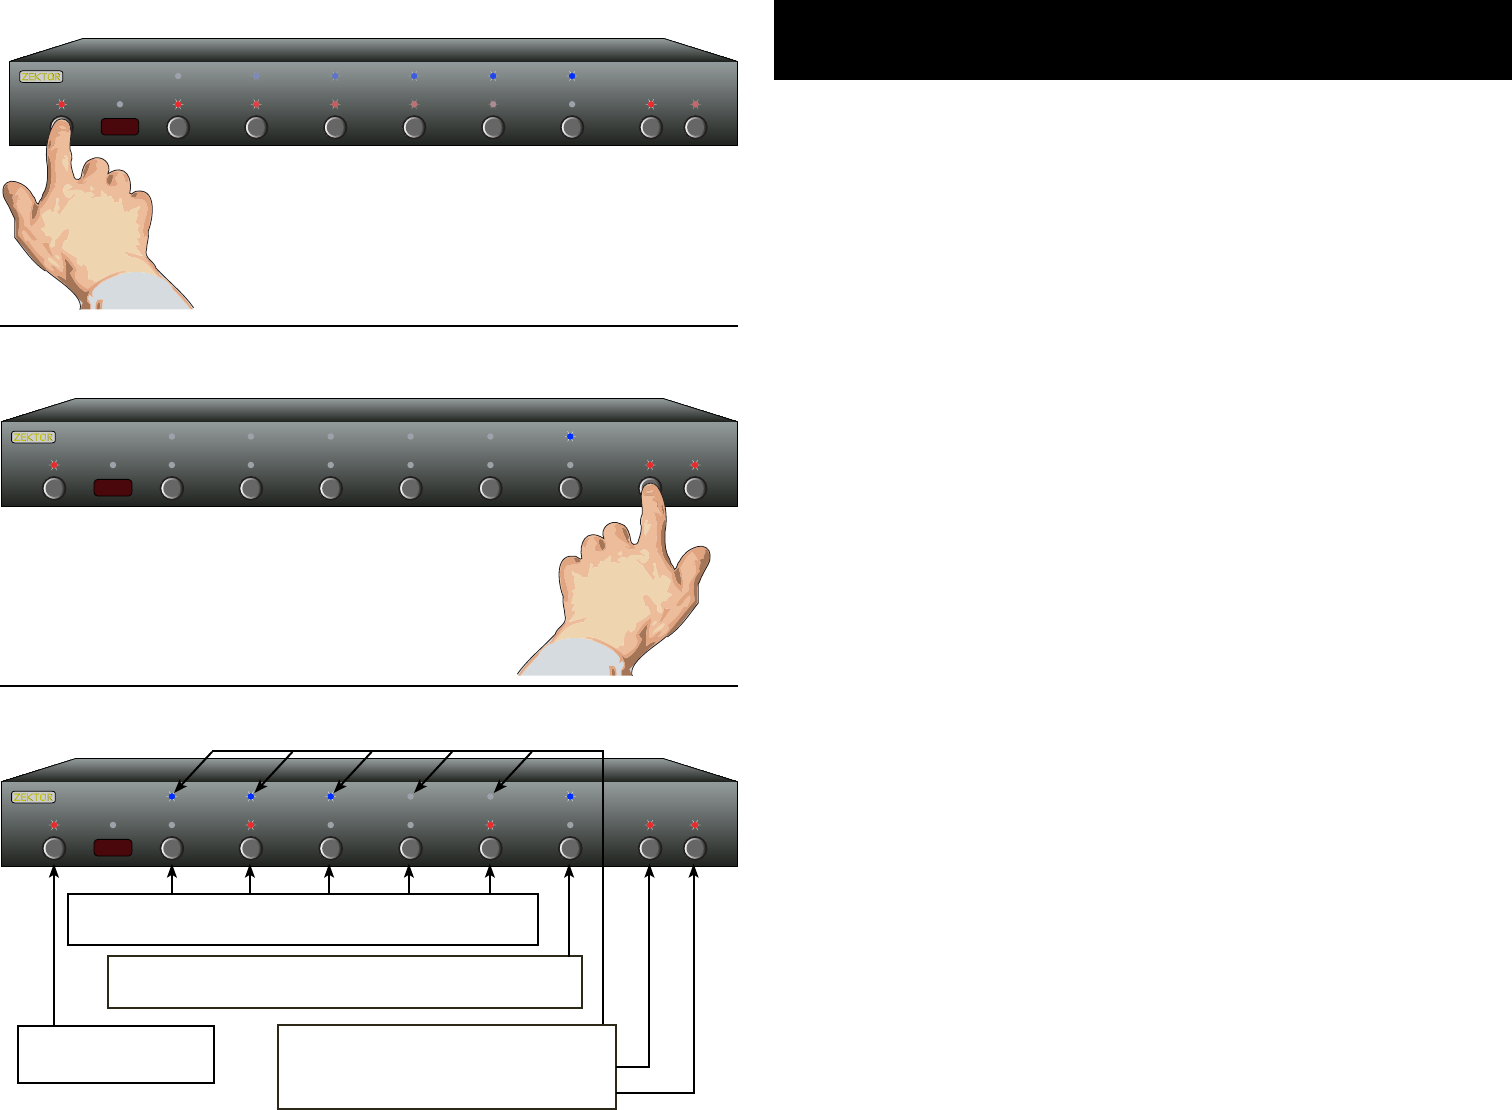
- Auxiliary Relay Options 16
- Relay Options (Cont'd) 17
- Resetting to Factory Defaults 19
- RS-232 Port 20
- Rear Panel IR Control 21
- +12V On / Off Control 21
- IR Code Format 22
- IR Codes 22
- Features 23
- Specifications 23
- Contact Information 24
- Warranty Policy 24
Prodotti e manuali riguardandi Switch di rete Zektor HDMI5
 (28 pagine)
(24 pagine)
(16 pagine)
(12 pagine)
(23 pagine)
(13 pagine)
(19 pagine)
(12 pagine)
(28 pagine)
(24 pagine)
(16 pagine)
(12 pagine)
(23 pagine)
(13 pagine)
(19 pagine)
(12 pagine)
© 2020, manymanuals.it. Tutti i diritti riservati | 0.028 s |
 Manymanuals.com
 Manymanuals.de
 Manymanuals.fr
 Manymanuals.it
 Manymanuals.pl
 Manymanuals.cz
 Manymanuals.es
 Manymanuals-pt.com
Commenti su questo manuale